Caring For Your Sauna
One of the huge advantages to a backyard sauna over a hot tub is that maintenance is very minimal. No weekly chemical checks or balancing of pH levels.
There are really just a couple annual things to maintain to ensure your sauna lasts for years to come and looks as good as when it was first delivered.
Exterior Care
The main thing we want to protect the exterior of your sauna against is UV and precipitation. Western red cedar has a natural resin that helps it last for years outdoors (unlike pine or other woods that can rot outside).
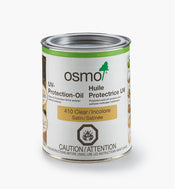
We recommend using OSMO 410 on the exterior of the sauna once per year. This will prevent the sauna from greying and getting water marks over time. Be sure to seal all exposed cedar (including the end grains of the stave), following the manufacturer's directions.
Other cedar sealants (ie: deck or fence sealants from Home Depot) also work well, however, we've found that the OSMO product lineup has the closest match to the untreated cedar colour.
Interior Care
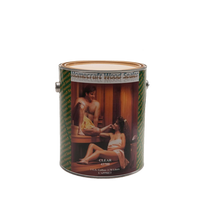
Over time, pouring water on the heater rocks and sweating on the benches can cause some water marks to form on the interior of the sauna. These are completely harmless and purely an aesthetic thing. If you wish to prevent that, Homecraft Saunas offers a water-based sauna sealant that can be used on the Interior surfaces of the sauna. It has no off-gassing and is completely transparent once dry.
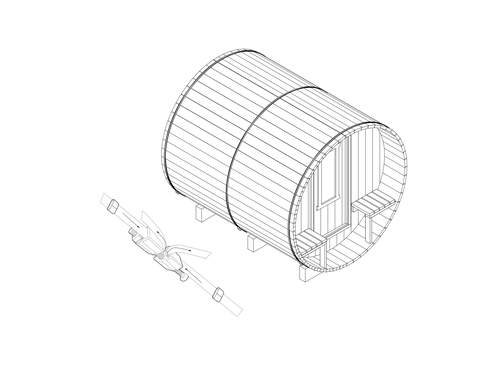
Tightening The Stainless Steel Bands
As the seasons change and the moisture content of the cedar adjusts, it might become necessary to tighten the three stainless steel bands that wrap around the sauna. This is easily done with an hex key and a 9/16" (or adjustable) wrench.
If the band is just slightly loose, you can tighten it with a wrench.
If the band is still loose and the bolt is completely tightened, then you'll want to back off the bolt completely and feed banding through one side of the clamp. Then once, that extra slack is removed from the loop and secured with the banding buckle (which has a hex set screw), then tighten the banding as much as possible with a wrench or socket.